Mininet Practice
mininet is a tool for virtualizing networks. We are going to virtualize an entire network as shown in the following figure.
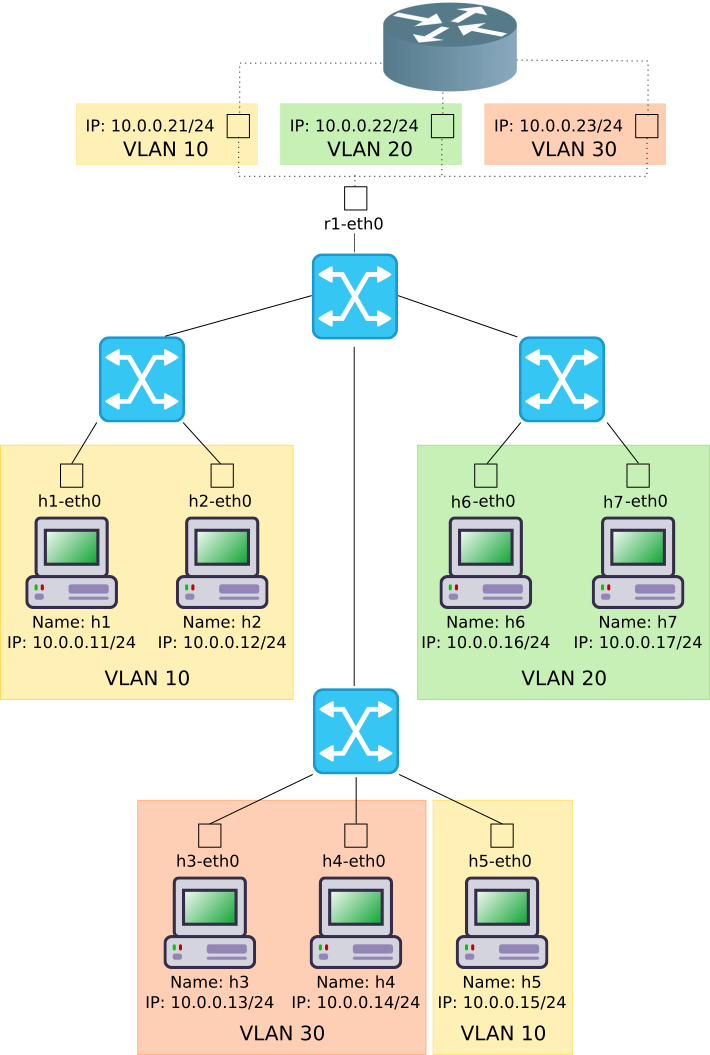
Please note that the address of the router varies from VLAN to VLAN as follows;
| VLAN | IP Address | ||
|---|---|---|
| 10 | 10.0.0.21 | |
| 20 | 10.0.0.22 | |
| 30 | 10.0.0.23 | |
This tutorial will guide you through the installation, running and troubleshooting everything required for having a virtual network just like the one in the picture.
For quick starting a VirtualBox’s Virtual Machine with all that you will need was prepared and can be downloaded from here. The password is the password for the course, that you used to access ILIAS.
Note
Be aware that the VirtualBox’s VM is aprox. 1GB.
Installation
In order to run the provided VirtualBox’s VM first we need to install VirtualBox itself. Then import the VM. The following section will explain how to proceed.
Install Virtualbox
To install VirutalBox follow these steps;
- Click here.
- Download the installer matching your running operating system. For windows, click on Windows hosts.
- Once it finishes double click and follow the installation wirzard steps
Import Mininet’s VM
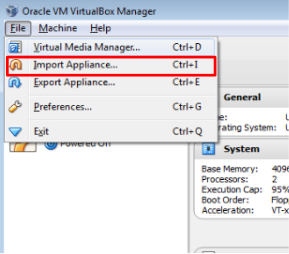
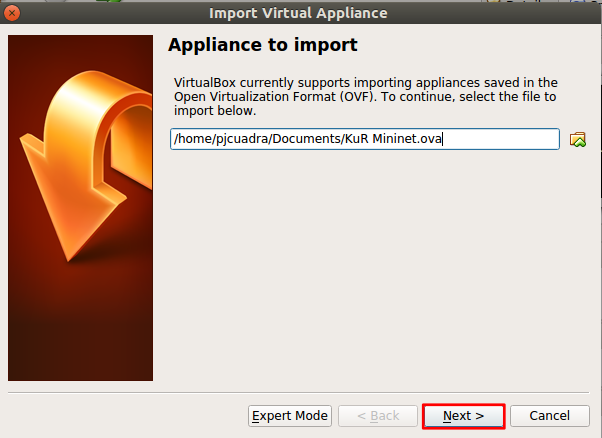
First you will need to download the VM from here. The password is the password for the course, that you used to access ILIAS. Then open VirtualBox and click on File > Import Appliance or hit Ctrl + i. As shown in the following picture.
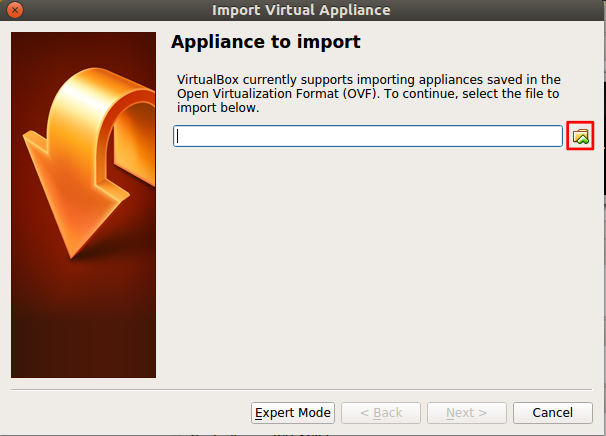
Click on browse icon as shown in the following picture.
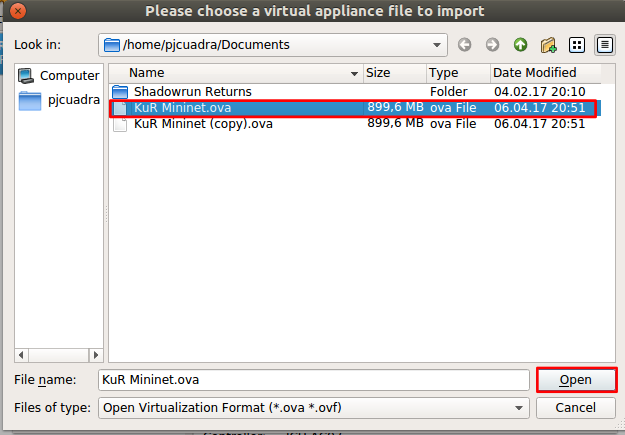
Select the download VM and click open as in the following image.
Then click Next as in the following picture.
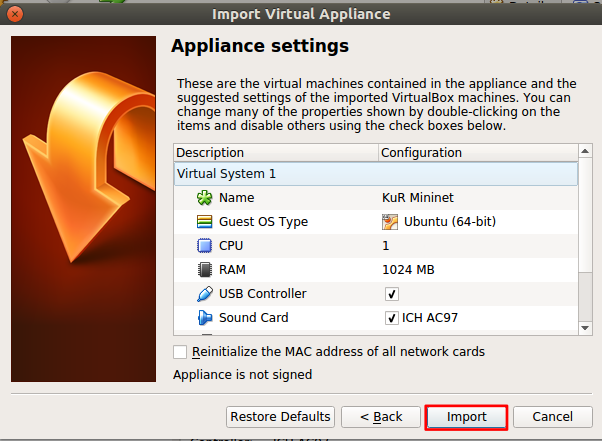
And finally click Import.
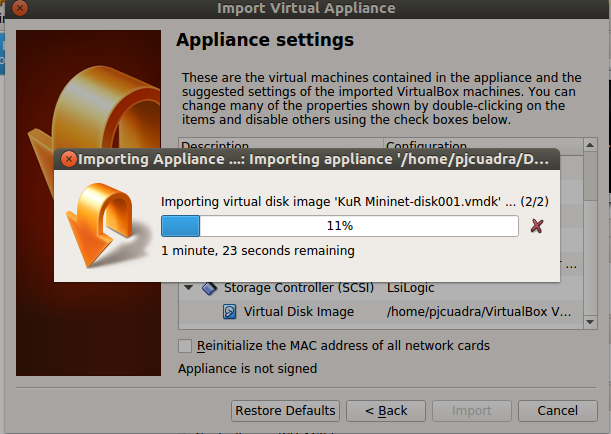
Wait for the VM to get imported, as shown in the following picture.
Start Mininet’s VM
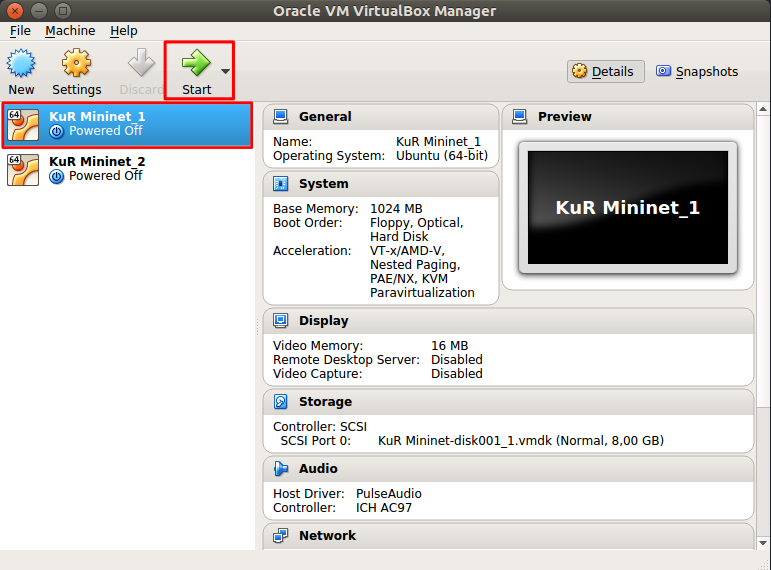
Once the VM is imported, start the VM by selecting the VM from VirtualBox list and click on start as shown below.
Log into Mininet’s VM
Once the VM is started login into the linux system with the username and password mininet. As shown in the picture below.
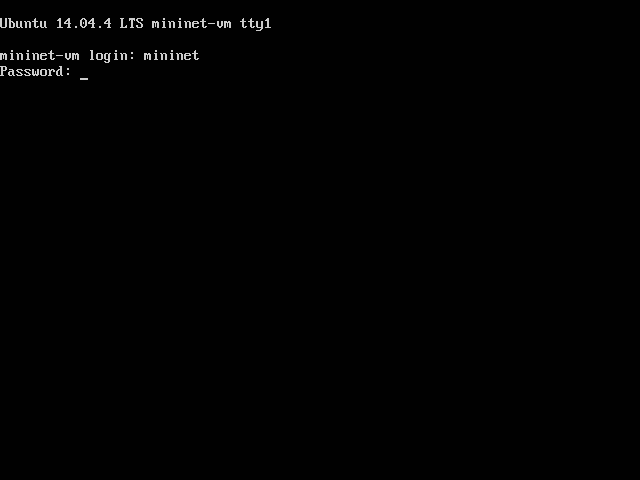
Note
While you type the password no characters are actually shown on screen. After
you finish typing the passwork just hit Enter.
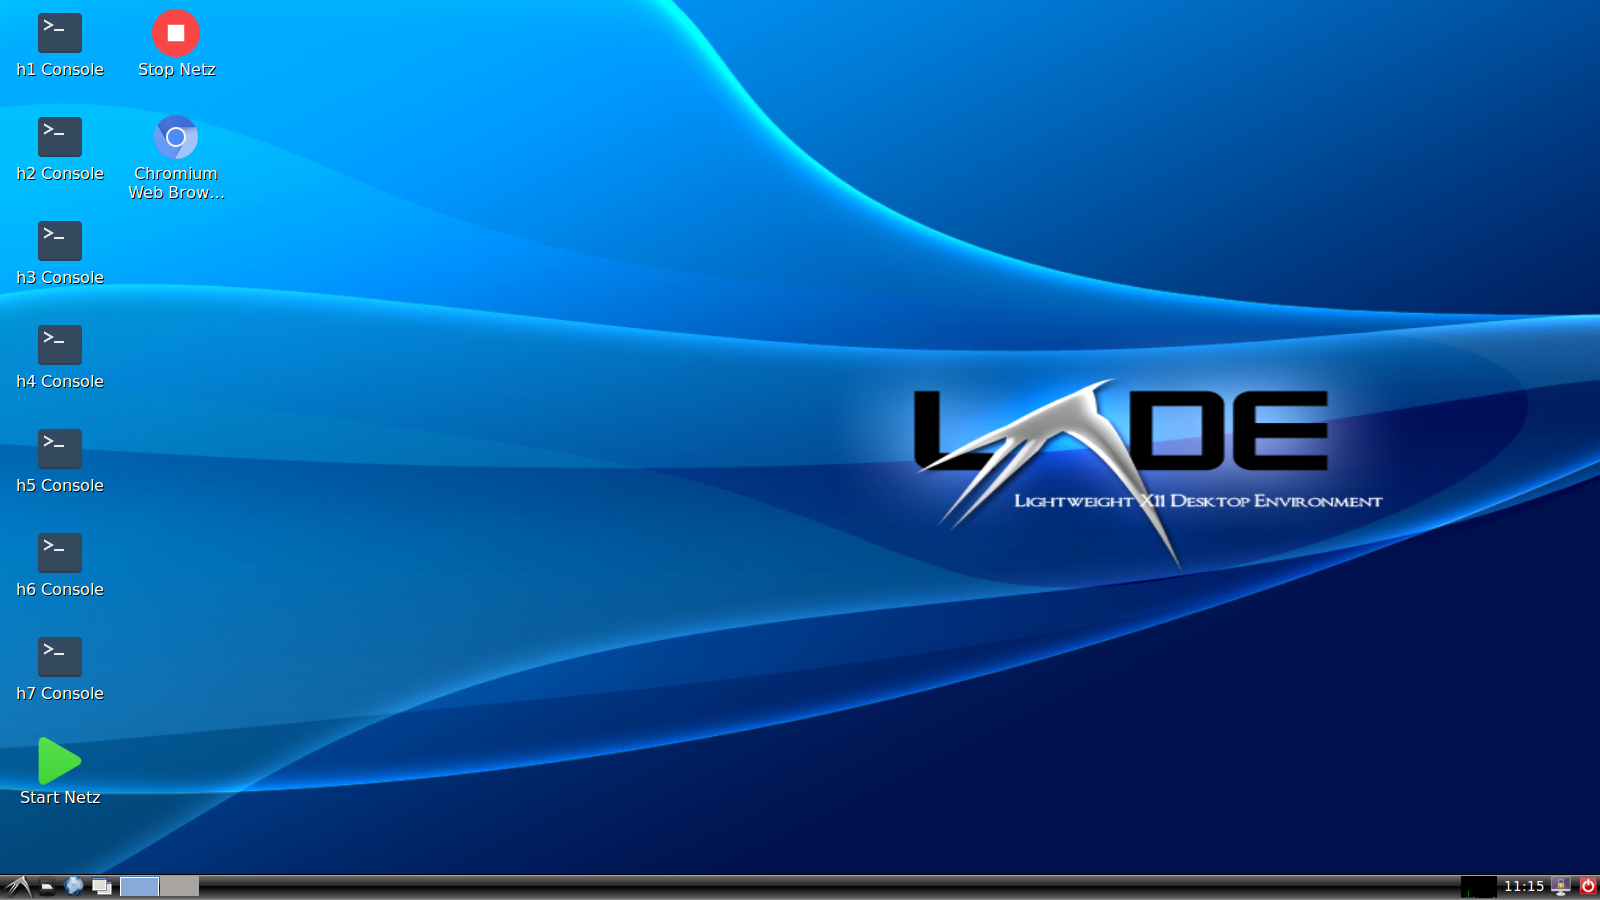
After you login the graphical environment should launch. It look like the following picture.
Start/Stop the Virtual Network
In order to start the virtualized network you will need to execute the Start Netz script by double click it, as shown below.
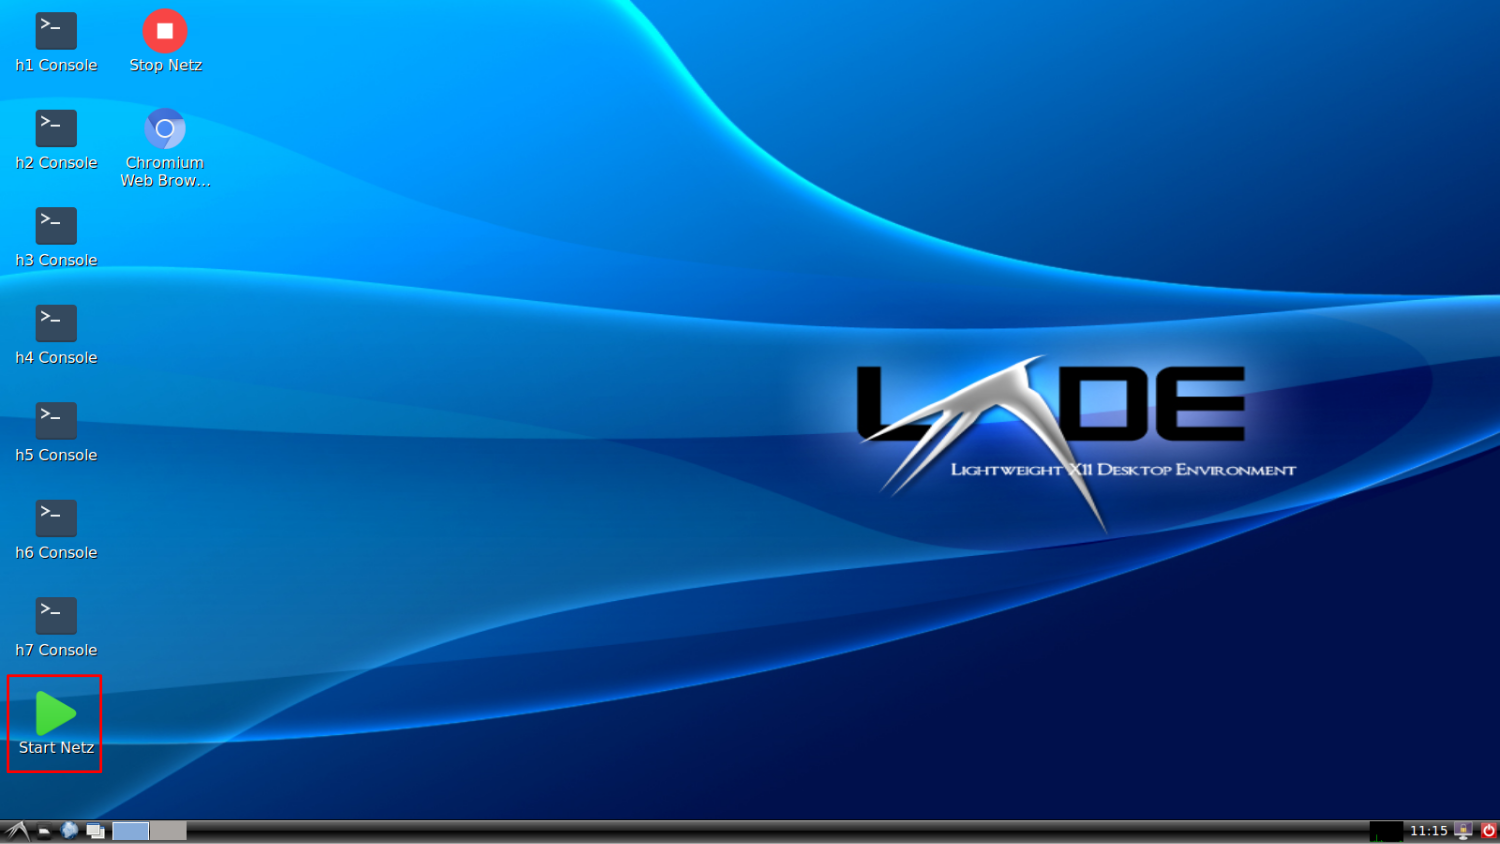
Note
By double click the script it seems that nothing happens but in the background the network is already running. Don’t worry the network will only will be started just once, no matter how many times you run the script.
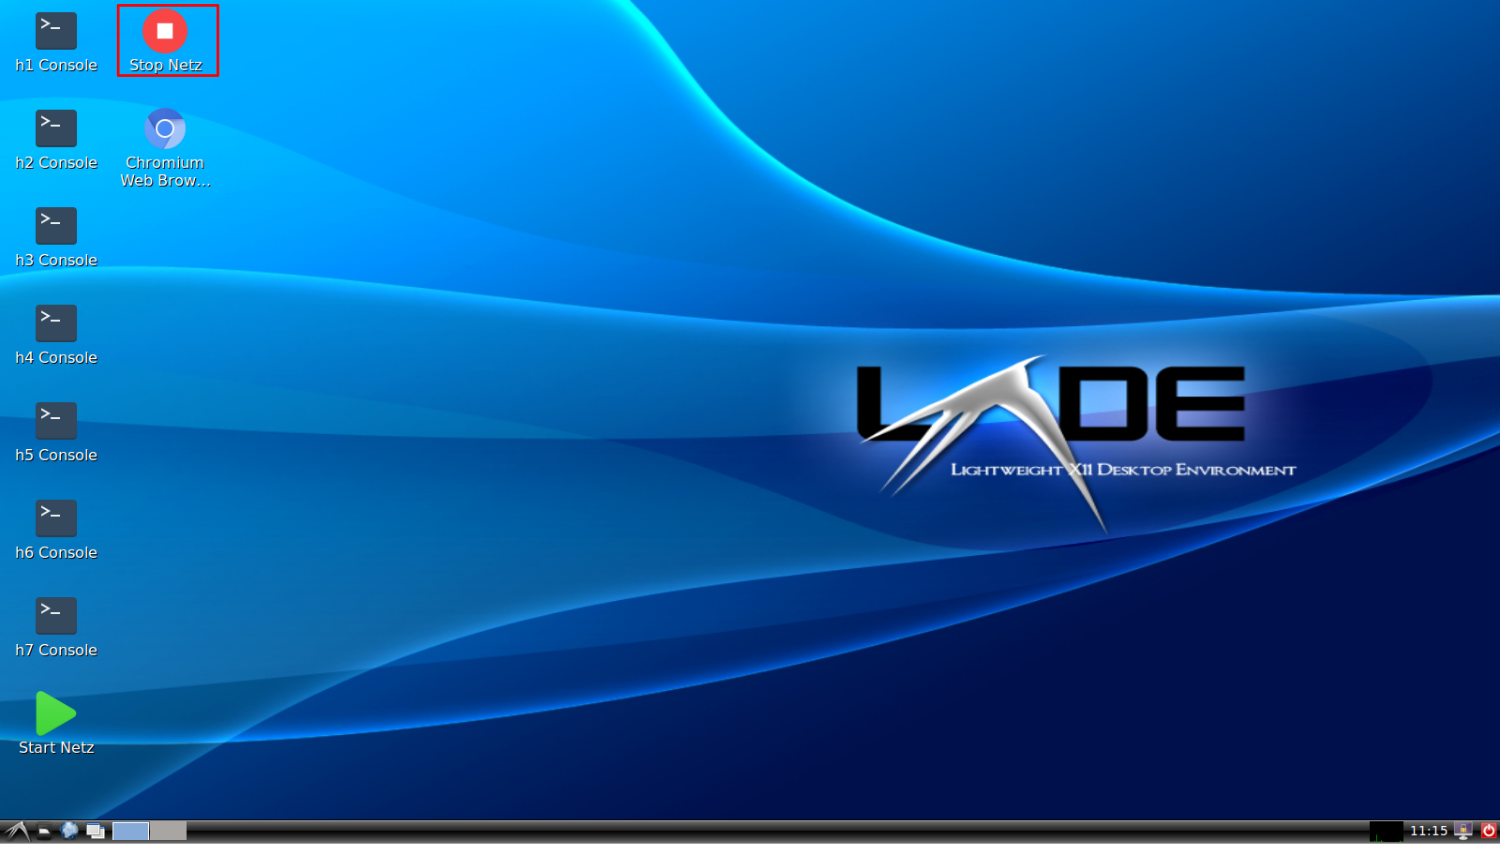
You can stop any time the network if you like by double clicking the Stop Netz script, shown below.
Running command on Host
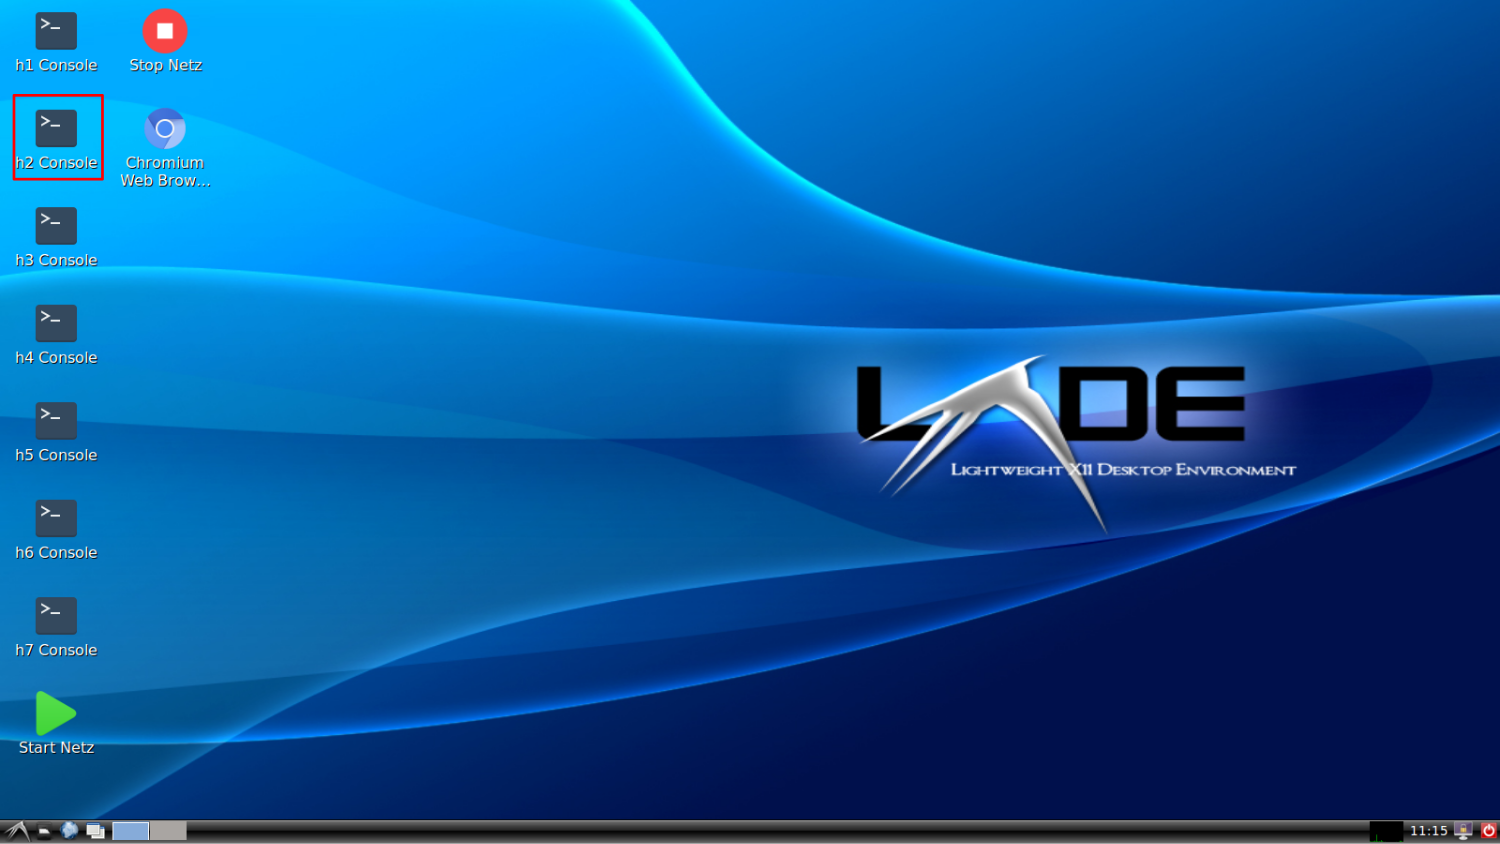
For running a command on one host you just need to open the host’s console. For easy access shortcuts have been created to access every host console. For instance, if you want to access h2’s console double click it shortcut as shown below.
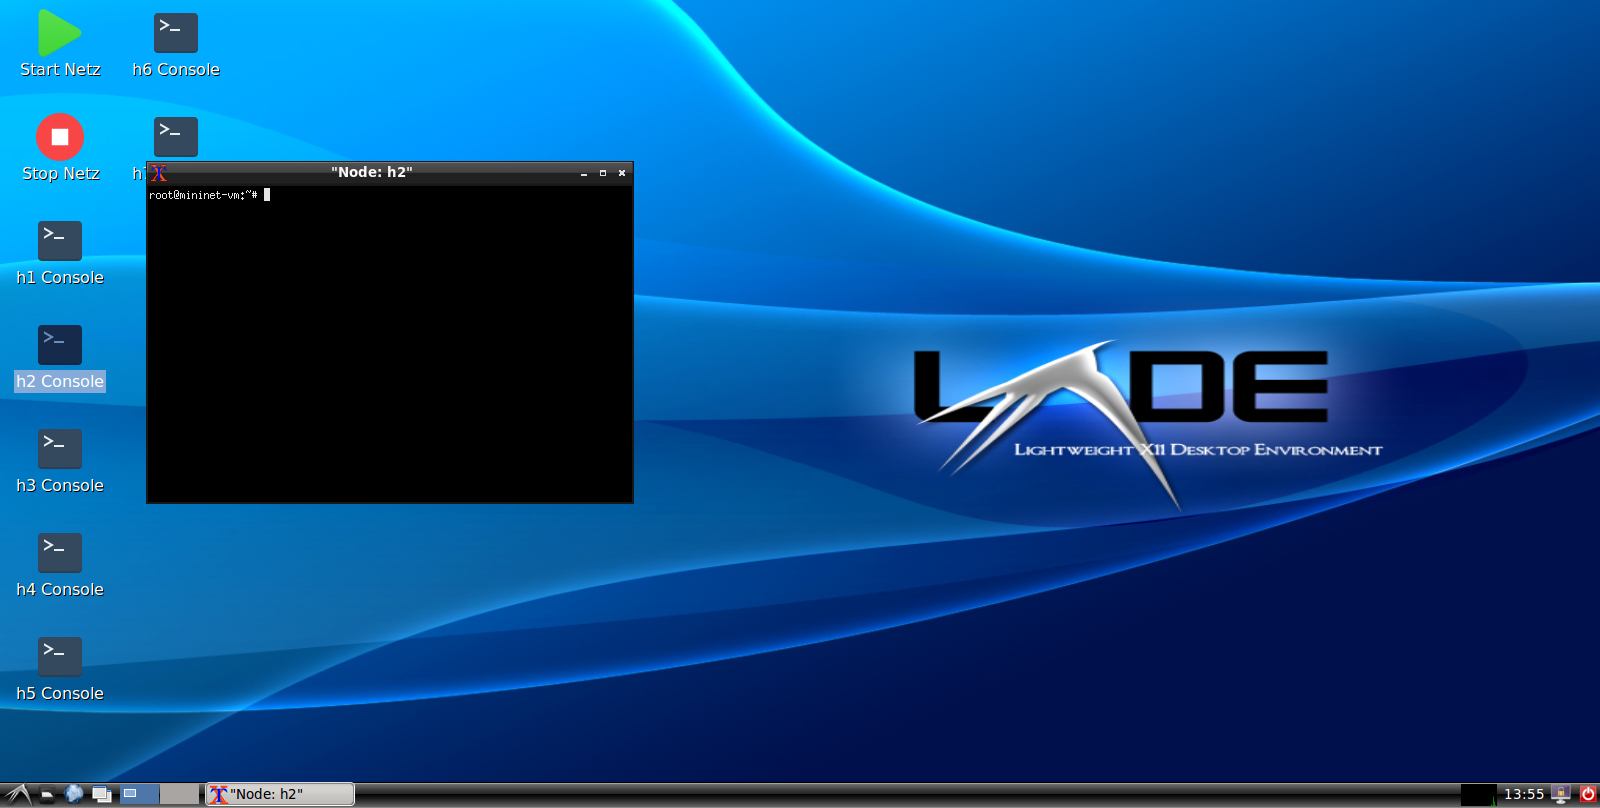
A window as the one shown below will open.
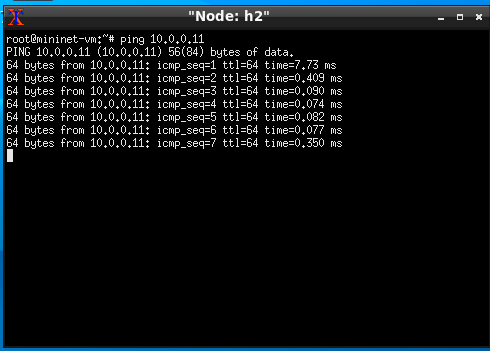
Now, for instance, you can ping another host by running;
ping 10.0.0.11
It should look like;
Running Wireshark
If you want to sniff a network interface of a host you’ll have to run Wireshark
on that host. For example, for sniffing h2-eth0 you should open h2
console as Running command on Host.
wireshark
Note
A warning might pop-up. Just click Ok and continue.
Select the h2-eth0 interface and click on start as shown below.
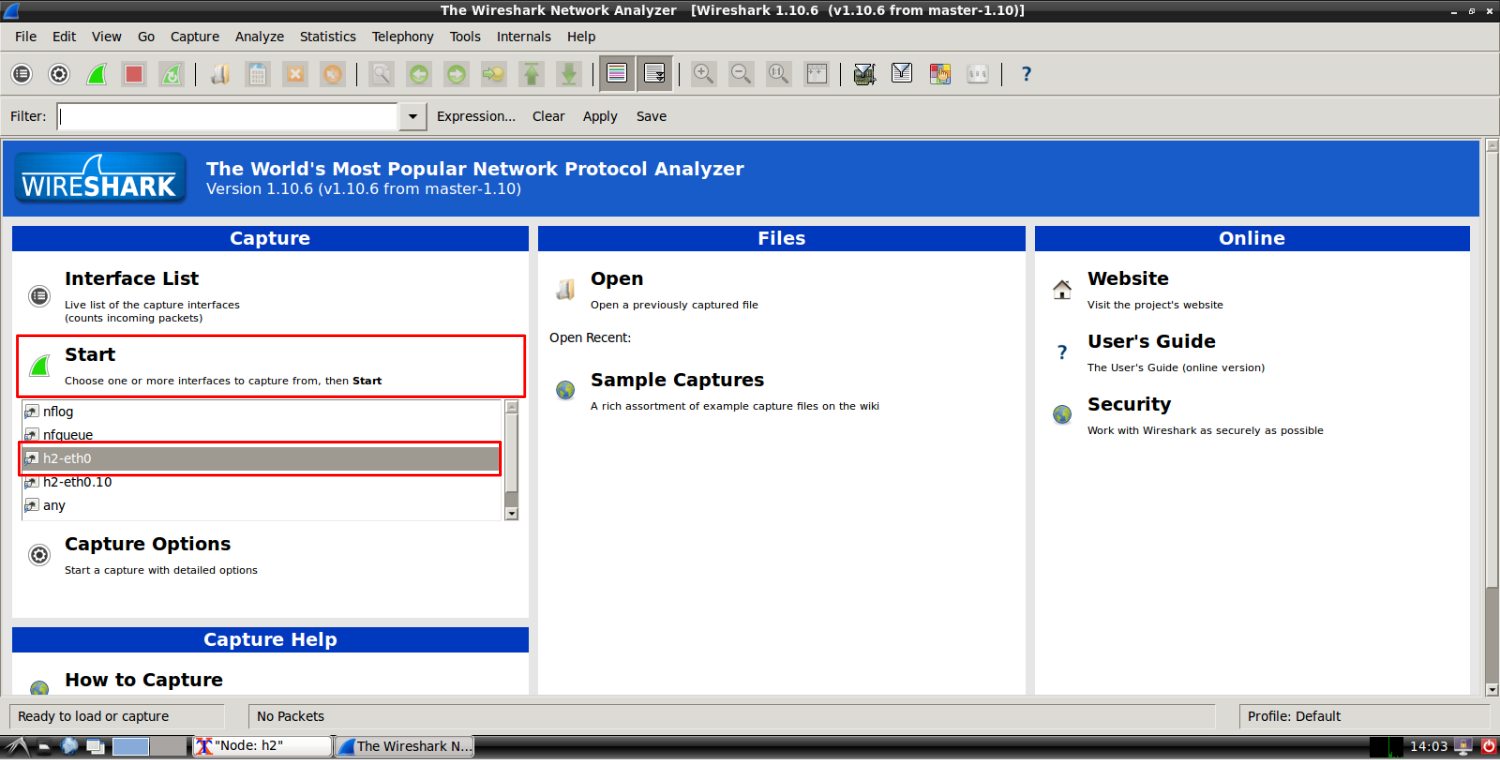
That’s it! You are sniffing the h2-eth0 interface.
Note
You can open as many consoles you like for every host.
Ping the Broadcast Address
When you ping to the Broadcast Address, normally, the command’s output shows
all the responding host’s IP Addresses. Because of the simulation of the network
ping’s output shows only the own IP Address. (We haven’t found a fix yet)

To find the Hosts’ response you can use Wireshark. Start Wireshark like in Running Wireshark. By running;
ping -b <broadcast-address>
Now you can see the IP addresses of the responding host with Wireshark as shown in the following picture.

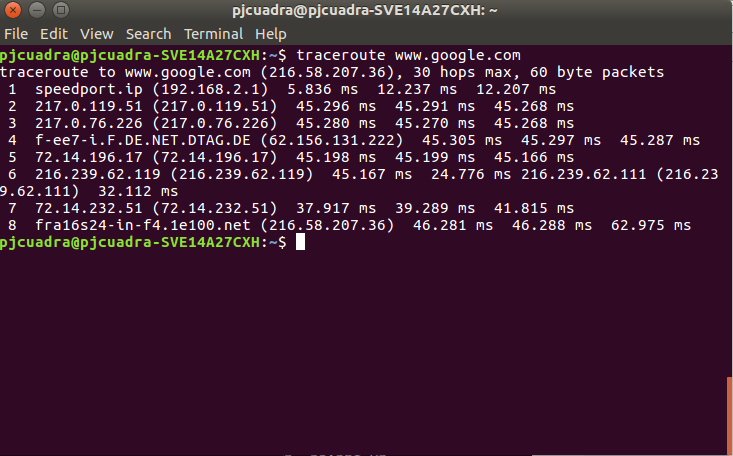
Tracing
traceroute allows you to see the hops and their IP addresses on the way to
the provided host. More about traceroute can be found in
https://de.wikipedia.org/wiki/Traceroute and
https://linux.die.net/man/8/traceroute. The following picture shows an example
of a typical traceroute run.
Troubleshooting
- If you double click on a console script and it doesn’t open maybe the network hasn’t been started yet or you stopped it. Just start it as explained in Start/Stop the Virtual Network.
- If the mininet does not start, check if in the BIOS Configurtaion the CPU support for Virtualization is turned on. The names for the Intel and AMD features are ‘Intel VT’ and ‘AMD-V’